Assembling RhoCoCo: Difference between revisions
No edit summary |
No edit summary |
||
| Line 17: | Line 17: | ||
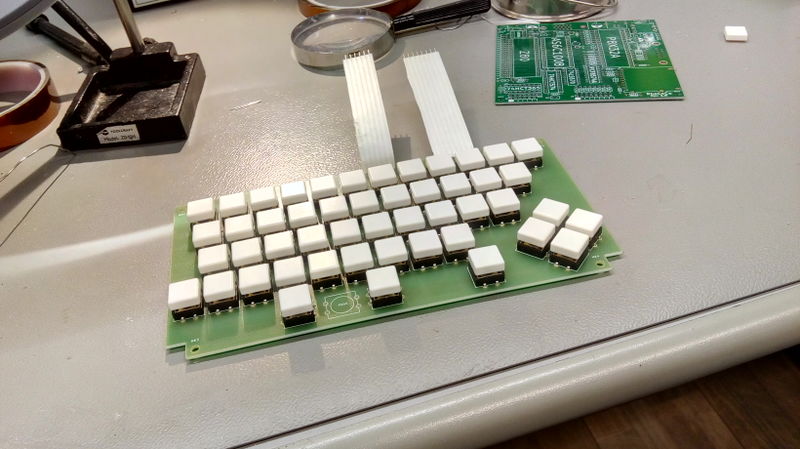
The I soldered the keys, and two connector strips to the PCB's. | The I soldered the keys, and two connector strips to the PCB's. | ||
This is the result: [[File:IMG 20190330 205013.jpg|800px]]. | This is the result: [[File:IMG 20190330 205013.jpg|800px]]. | ||
Farnell only delivered 49 keys, not 50, so I left the middle of the three-key spacebar out for now. | Farnell only delivered 49 keys, not 50, so I left the middle of the three-key spacebar out for now. | ||
Revision as of 21:23, 30 March 2019
| Project Assembling a RhoCoCo home computer | |
|---|---|

| |
| This text describes how to assemble a RhoCoCo home computer from two PCB's, ten (socketed) integrated circuits, a dozen connectors and various other parts. | |
| Status | Initializing |
| Contact | Mahjongg |
| Last Update | 2019-03-30 |
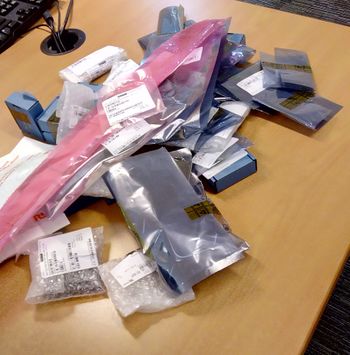
We need, two PCB's, the parts from this list: File:RHOCOCO rev 1.8 assembly list.pdf
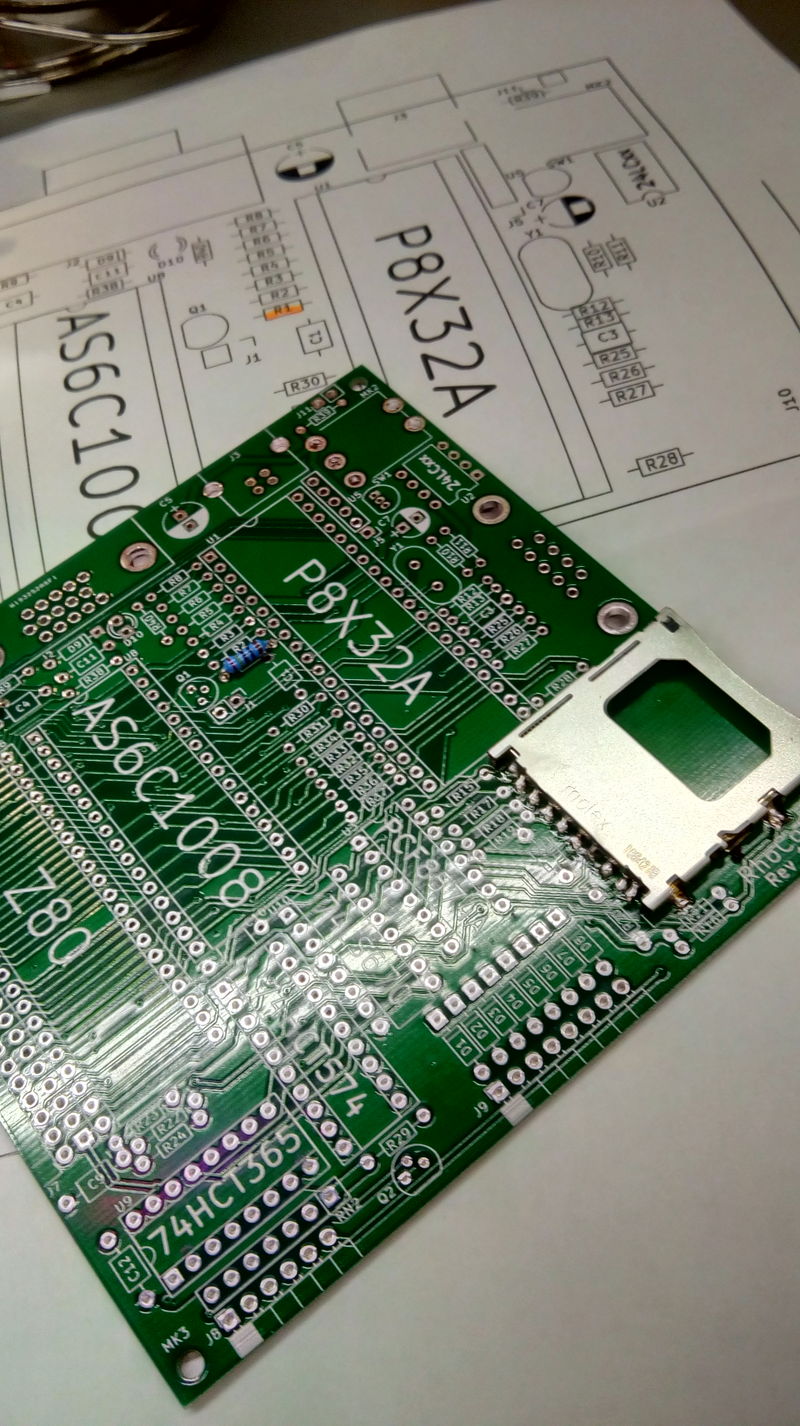
a soldering iron, and this assembly drawing to locate each part. File:Rhococo rev 1.8 component overview.pdf
In principle we start by soldering the only SMT part to the PCB, the SD-card-connector, this might have been pre-assembled for you. Then we do the resistors, and the diodes by bending them into shape.
I practice I decided I wanted to build up the keyboard first, but quickly ran up to a problem, all the holes for the keys were too small to fit the pins of the keys through, and I had to drill all 400 holes with a 1.5mm drill (through a stack of three PCB's)
The I soldered the keys, and two connector strips to the PCB's.
This is the result:  .
.
Farnell only delivered 49 keys, not 50, so I left the middle of the three-key spacebar out for now.
Next up was soldering the SD-card holder, as I was already afraid of, the card holder had two plastic pins, I had no holes for in the PCB. The datasheet of the card holder was very fuzzy about these two pins, and I could not determine if they really existed. Easy solution was to cut the pins off. Fortunately all the other (solder) pins seemed to be placed correctly.
