Crimping: Difference between revisions
Bamidiscus (talk | contribs) Created page with "I bet you forgot how that crimping tool works. Here's a summary. == JST-XH == Necessary tools: * connector * plenty crimps * JST-XH crimp tool * ruler with millimeter scale * flush side-cutters * cable stripper You'll be crimping a crimp on each wire. After all crimps are correctly affixed you shall insert them into the connector. At first it'll probably look like this: none|200px Cut a fresh piece using flush side-cutters. File:jst-x..." |
(No difference)
|
Revision as of 14:20, 25 September 2025
I bet you forgot how that crimping tool works. Here's a summary.
JST-XH
Necessary tools:
- connector
- plenty crimps
- JST-XH crimp tool
- ruler with millimeter scale
- flush side-cutters
- cable stripper
You'll be crimping a crimp on each wire. After all crimps are correctly affixed you shall insert them into the connector.
At first it'll probably look like this:
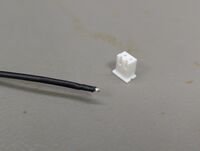
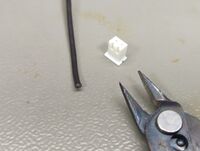
Cut a fresh piece using flush side-cutters.
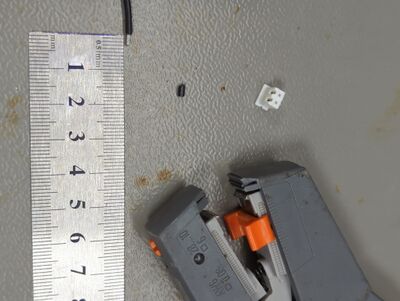
Strip the wire down to about 2.5 mm. Make sure you do not strip more than 3 mm. If using multi-stranded cable, twist it into a bundle, but do not overdo it.
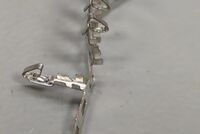
Now get yourself a crimp. If they come attached to a metal strip, then bend them forwards and backwards until they easily snap off the strip. Do not use your cutters, you'll wear them down quickly.
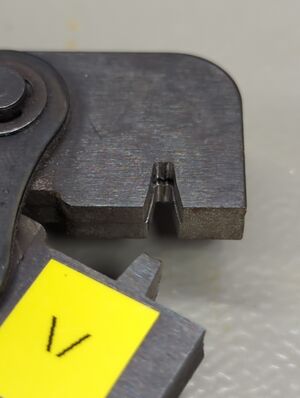
Take a look at your crimping tool and notice the following:
- the bottom part has a wide and a narrow part
- the top part has a higher and a lower part
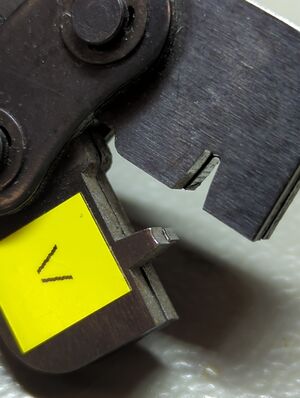
Imagine the following: this is how the wire will be positioned in the crimp once it's in the tool. Notice how the outer v-section will hold the insulator, while the inner v-section will hold the conductor.
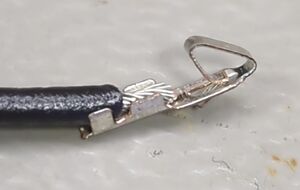
But first we must position the crimp itself in the tool.
Pointers:
- The outermost v-shaped part of the crimp will later be positioned on the wide part.
- The hook should be fully sticking outside the tool on the other end.
- If you fuck up during the positioning of the crimp at any time, you should not continue crimping. Instead, push up the un-fuck lever on the tool so that it opens up again:
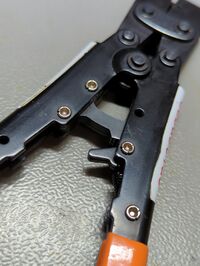
While the tool is fully opened and held with one hand, grab the crimp and lay it correctly in the tool.
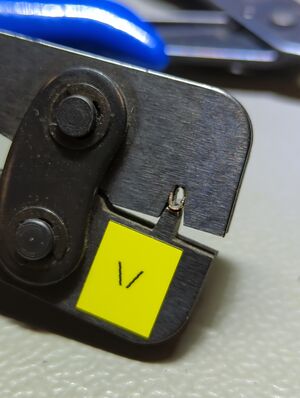
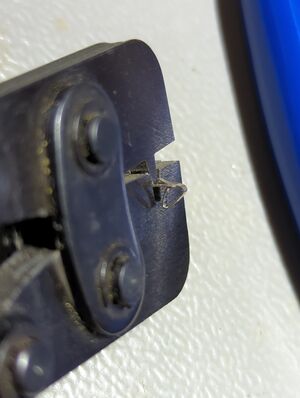
Insert the wire into the crimp. This is the tricky part, because is has to be aligned such as we saw before. If you're lucky the insulator will hit the conductor clamps during insertion. If you're unsure or find this too difficult, remove the crimp and crudely apply the wire into the crimp, then position the crimp with the wire in the tool.
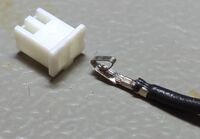
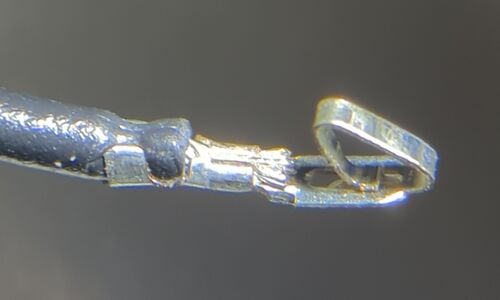
Press the tool firmly, it will open up. This is a proper example of how the result should look like:
Once all your wires have been crimped, insert them into the connector. The hook should point towards the window of the connector.
