LED skirt
Jump to navigation
Jump to search
| Project LED-skirt | |
|---|---|
| |
| Status | In progress |
| Contact | Noor |
| Last Update | 2019-12-08 |
To do
- Cut up rest of LED strip into sections of 23 LEDs.
- Fix rest of LED strips onto crinoline.
- Microcontrollers and wiring.
- Figure out how much power is needed and battery holders.
- Want side-emitting LEDs along the bottom, but can't find side-emitting LEDs that are also waterproof, and can't put more than 1m of non-waterproof ones in a silicon tube.
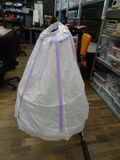
- Diameter of crinoline bottom hoop is 80 cm. Need to add an extra 100+cm of arc length of black paneling and tulle paneling to inner layers.
Timeline
2019-11-06 - 2019-11-11
Bought:
- 8x8 cm WS2812 LED panel
- 5m, 30 LEDs/m, IP67, black LED pixel strip
- 241 LEDs, rings of varying sizes from 3 to 17 cm
- [x2] 2-hoop crinolines to attach LEDs to
- 88 cm black skirt
Old sketches:
2019-11-12 - 2019-11-24
- Layout of LEDs, waiting for items to arrive.
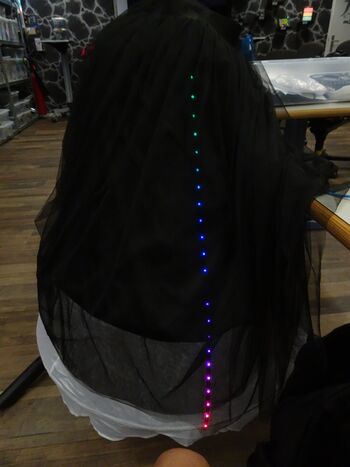
- Tested out LEDs under layers and on crinoline.
2019-11-25
- Took apart seams of inner layers of black skirt to add extra panels to fit over crinoline.
2019-11-26
- Measured skirt on top of crinoline. Extra panel with bottom arc length of 100+cm.
- Decided to go with 6 strips of 23 LEDs each. Cut one strip.
2019-12-06
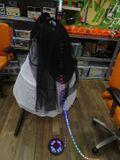
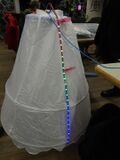
- Punched holes in crinoline, used zip ties to attach first LED strip.
- Took apart LED circles.
- Set up LED circles, one strip, and panel together on crinoline and used zip ties to place everything but the panel on crinoline.
- Pictures posted by others to Facebook, RevSpace kiekjes, Twitter.


